
If you follow me on Twitter, you'll know that I recently transitioned from being a technical writer to a developer advocate. It's been over 4 months, and I love it. Admittedly, the context switches due to the contrasting roles associated with dev advocacy aren't always fun. Still, they're ideal for someone like me who gets bored easily and can't stay focused on one project for too long.
So, asides from producing written content, I was recently asked to make basic explanatory YouTube videos for our open-source tools. In all, it was a wholesome learning experience, and the feedback I got was that I didn't do so badly for my first video, given the little time I had.
In this article, I just thought I'd share my process and what it took for me to record and edit my first explanatory YouTube videos for anyone interested. So yes, this is an article on how not to suck at your first' make a YouTube video assignment'.
Step 1: Choose your battle weapon tool
First things first, I had never edited a video before, so I most certainly did not know what the go-to tools were. I spoke to a couple of my mutuals who had published a couple of youtube videos and asked them for recommendations. The top three tools that were mentioned were:
Ultimately, I chose Descript since, as a rookie, the ease of use and editing was most important to me. I didn't want something that would take me a week or, worst case scenario, a month to figure out how to use. I wanted something that would allow me to get up and running quickly, and Descript was designed just for that.
Descript allows you to edit videos just as you edit word documents: select and delete or copy and paste. Granted, other platforms have more advanced editing capabilities than Descript, but the ease of use and shorter time required to get started pulled me in. The subscription fee also wasn't a problem because my company would shoulder that.
You can also decide to use a combination of two or all tools, whatever works for you.
Step 2: Understand the Process
Again, as a total newbie and novice, I had no idea what went into or what people did to produce tutorial videos on YouTube. How did they do it?
My friend Esther was very helpful at this point. Esther is a volunteer developer advocate for the open-source library Chakra UI, and has made some very cool short explanatory videos in the past. I watched some of them and thought that's how I want my videos to look. So I booked a one-hour zoom session with Esther, and she talked me through her process.
I think at this stage, you should seek out others who have created videos similar to the ones you want to create and ask them about their process. Esther told me to:
- start with writing my script,
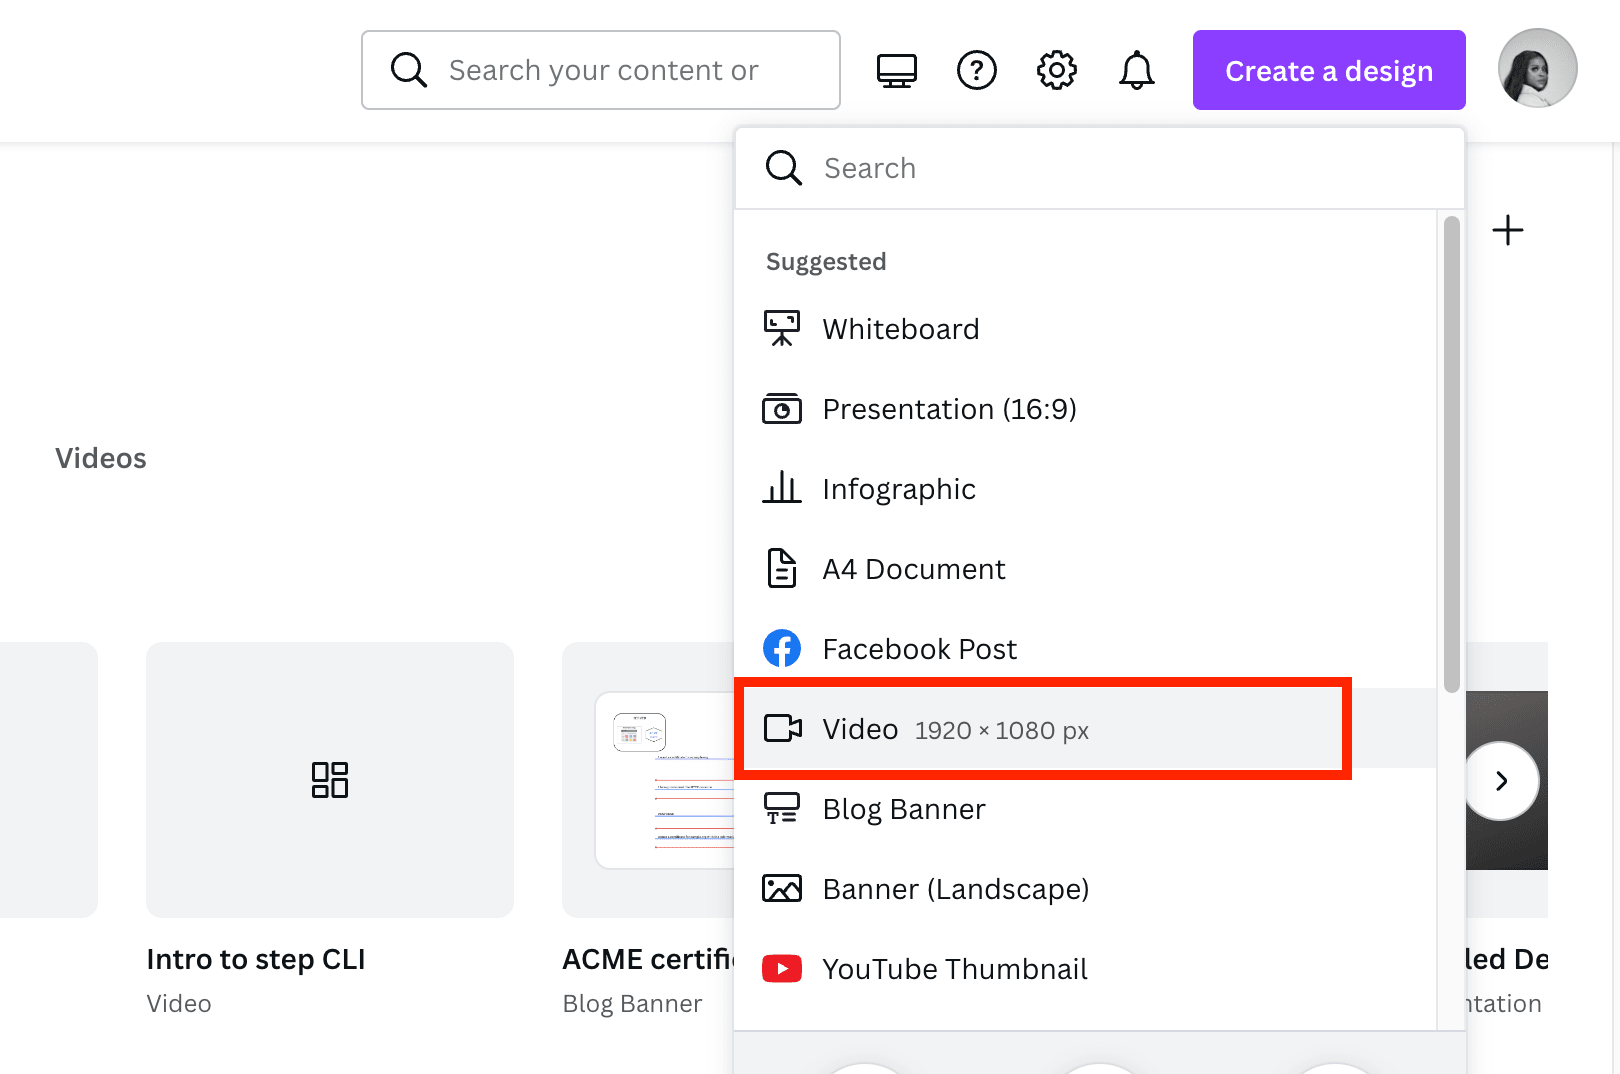
- make video slides accompanied by preferred animations on Canva
- download the video slides from Canva
- Record your screen and voice as you talk through each video slide.
- Finally, upload the recording to your chosen editing tool, and edit out the unnecessary parts.
I didn't even know I could make videos and also add background music to video slides on Canva! That was a discovery.
Part 3: Write a script
A video script serves as the framework and foundation upon which everything else is built. It's a chronological run-down of speech and actions that you want to feature in your video. It's basically all the things you plan to say and do during the course of a video, written out in text.
For example, if you're going to halt mid-sentence to drink water, laugh, wink, or ring a bell, write it down in the precise order, you intend to do it. Make your script as specific and descriptive as possible. This will keep you from making so many mistakes and having to do fewer edits.
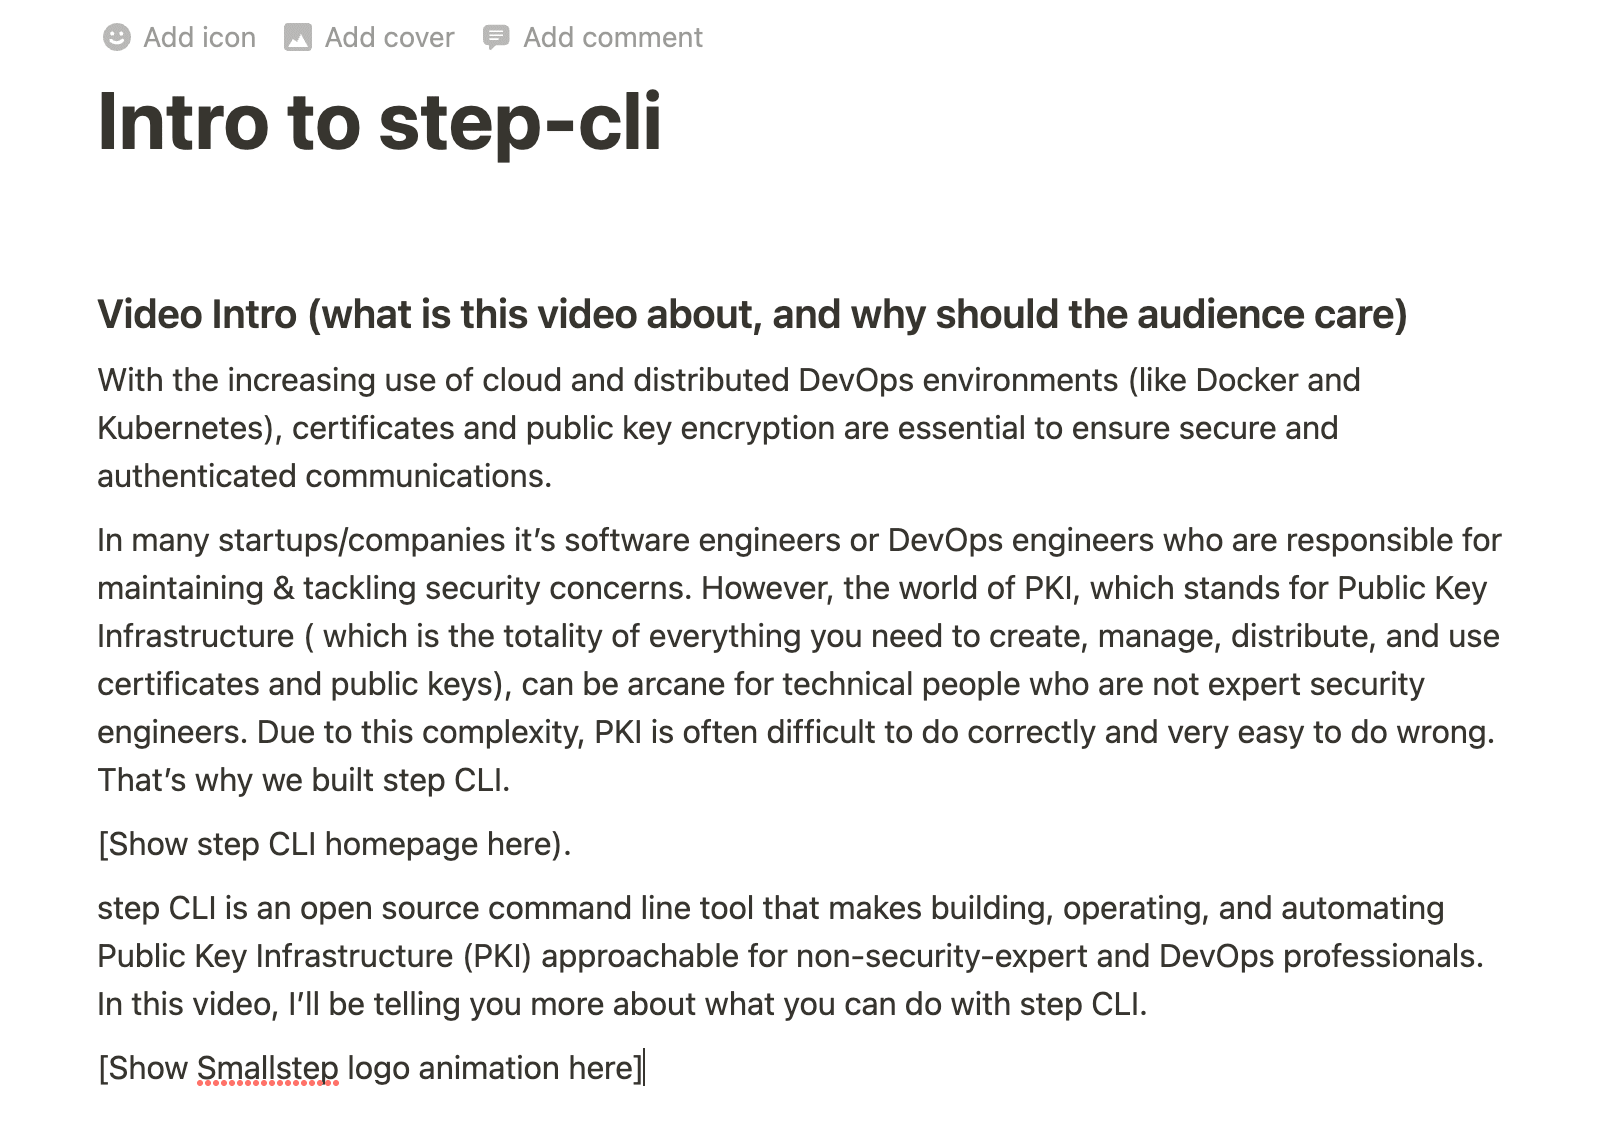
Here is a snippet of the script I wrote for one of my YouTube videos:
Step 4: Record
After writing your scripts, the next step is to record your video. Here are some tips to remember while recording scenes where you need to show your face and talk directly to the camera:
- Be relaxed: For my first YouTube video, I wasn't so comfortable speaking into a camera. Most people who watched the video could tell that I was nervous and that the performance wasn't natural. Don't be like me; try to relax, and if possible, rehearse a few times in front of a mirror to perfect your delivery.
- Talk directly to the camera. As much as possible, try to keep your gaze level with the camera and talk directly to the camera as if you were giving advice to a real person on the other end.
- Pause for some seconds when you make a mistake before giving that line or scene a second attempt. This will make for you to edit out such errors and for the edits not to look so awkward.
Lastly, If your video requires you to code or run through a demo, start with a screen recording of the demo. Then edit or cut out the parts where you made mistakes, or things didn't go as planned. After you're left with a more polished and straightforward demo video, now it's time to record the voice-over for it (if any).
I know this sounds like too much work, and you're probably wondering why you can't just screen-record and do the voice-over simultaneously. I learned this the hard way. You know how things usually never go as planned when you're live coding? You'll inevitably fumble through several sentences and forget exactly what you intended to say at any given moment. As a result, you can wind up with a video where it's tough to edit specific frames to precisely match the timing of the required speech.
Recording your demo, then editing, and doing the voice-over last, affords you the greatest probability to precisely align your demo with the intended speech, as you can even read your exact script from a piece of paper or another screen.
Step 5: All together now, edit!
Now that you have all your pieces and components ready, it's time to cut, join, trim, e.t.c till you arrive at something that looks good (not perfect). Remember, perfection is the enemy of progress. Your first video will not be the best, and you'll have to make more videos to improve. It's a process, so get that video out there quickly.
Final words.
And, that's a summary of how my foray into the world of YouTube went. If there's anything you want me to share about this process that I didn't cover, feel free to message me on Twitter.
Btw, if you want to see the two videos I made, they're here and here…